Connect with us

Guide

How To Take 50MP High Resolution Photo From Galaxy Z Fold 4

Published

on


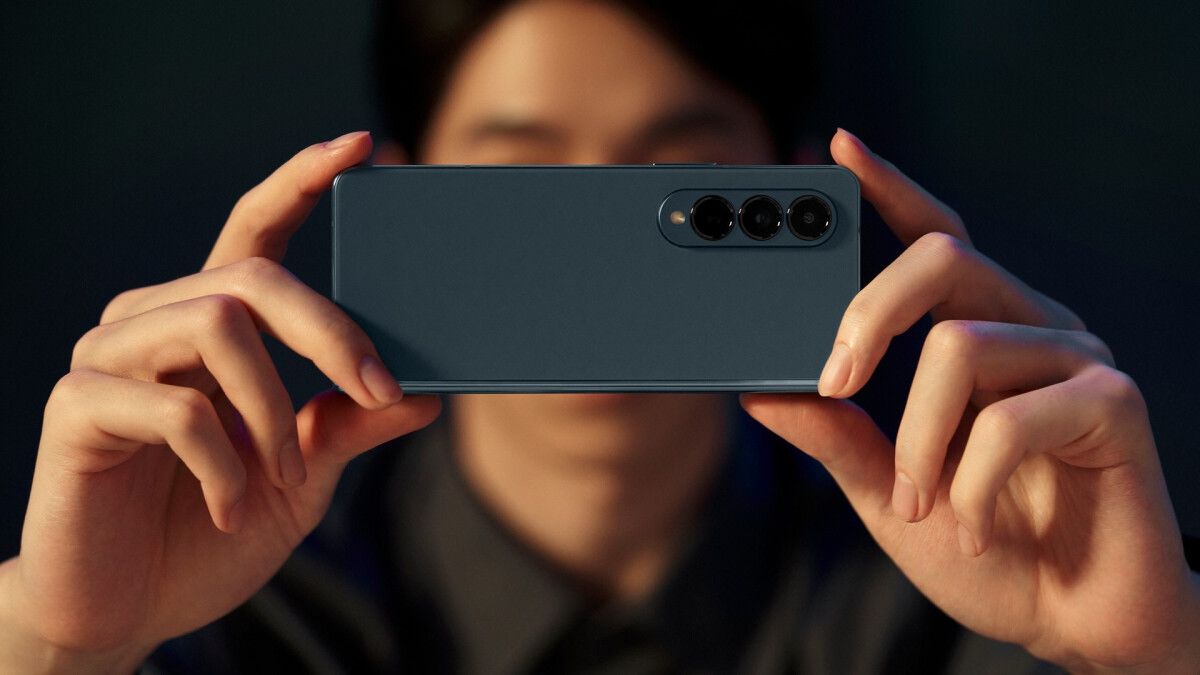
Samsung has introduced another member to its Galaxy Fold-series. The Galaxy Z Fold 4 is its triple rear camera setup alongside the battery capacity. The handset sports a 50MP primary sensor with f/1.8 aperture. It is complemented by an 12MP ultra-wide-angle lens, a 10MP telephoto sensor. Moreover, we get a 4MP under display camera and 10MP cover selfie shooter that is capable of shooting in 4K videos.

Samsung’s brand-new Galaxy Z Fold 4 is a foldable screen camera monster. They have the insane zoom and 8K video features and perform superbly in the most difficult situations. Large sensors built inside the Galaxy Z Fold 4 are partially to blame for this 50 MP camera.

You aren’t, however, making use of the full resolutions of those sensors by default. Instead, Samsung is using the pixel count to perform some magical software cropping or pixel binning. However, if you do insist on using the Galaxy Z Fold 4’s camera sensor in its maximum resolution, you can. It only takes two touches to do it.

How To Take 50MP Camera Photo In Galaxy Z Fold 4

  • On your Galaxy Z Fold 4
  • Open the Camera Application
  • On top – Open up the aspect ratio menu
  • Select 3:4 (50 MP) mode


Aastha is a Author of Samlover.com. With a degree in Engineering with IT, Aastha is deeply immersed in the realm of technology. Specializing in Android and Hardware. She is Passionate about technology at the service of digital entertainment that can be used through any platform. Music, movies and video games have always taken up a good part of his free time, but he doesn't give up outdoor activities, from simple walks to cycling and skiing. He has been producing editorial content for SamLover since 2022 and has run a computer and telephony store for 3 decades.

Guide

Samsung One UI: How to Enable Swipe-Down Search On Galaxy Phone’s Home Screen

Published

on


Nowadays, every smartphone user generally uses hundreds of applications on their devices, and due to the large number of applications, it’s a bit difficult to find the desired application, so to make it simple, users have only one solution: manually search for the application with its name using the finder option.

Samsung Swipe Down To Access App Finder

Samsung has rolled out a new update for the Home Up application. With the latest update, users have received some useful features; Finder Access is one of them, which has made app access more convenient. It allows users to quickly jump to the app finder with one swipe. Let’s understand how you can use it.

How to Enable Samsung Home Screen App Finder with Good Lock Home Up

To use the App Finder, your Samsung Galaxy phone should support the Good Lock application and then you need to update the Home Up application to the latest version (v15.0.01.19), then follow the below steps:

  1. Go to the Good lock.
  2. Here, select the Home Up module.
  3. Turn on the Home Up
  4. Then tap on the Home screen option.
  5. Here, you will get the Finder access option, then tap on it. 
  6. Now choose any option from the “Home screen” or “App screen” where the feature should be activated.
  7. Now if you swipe down on the Home Screen to access App Finder.


Note: The latest update for Home Up is only available for Galaxy devices that are running on One UI 6.1 or above. And Swipe Down control centre won’t work after enable this feature.


Continue Reading

Guide

Galaxy AI: How to Summarize & Transcribe Voice Recording into Text on Samsung Phone

Published

on


Samsung has recently rolled out the One UI 6.1 update for several Galaxy devices. With the late One UI update, the company has brought several innovations that will provide several utility options for the users. From several features, the AI power ones are the most highlighted, and voice record summarization is also a unique feature.

What is voice recording summarization?

Now, with the One UI 6.1 update, Galaxy users can easily transcribe any voice recording into text form and summarize it in their own language. This will help users easily make notes according to what is recorded. 

To use this feature, you need to go to the settings and then select the Advanced feature. Here you will see the voice recorder, tap on it, and then touch the summaries option. Now turn it on. When it is turned on, you can enjoy summarizing voice recordings.

To summarize the voice recording Go to the recorder application, select the desired recording file, and here you will see the option ‘transcribe’. Once it finishes transcribing, you will see one more tab for summarization. However, the option is currently not working correctly as it fails to detect the exact wording of other languages except English. However, it is expected that the company may bring more optimization to the device to make the feature more powerful.

How to Transcribe Voice Recording into Text on Samsung Phones

If you are using a Galaxy device that has installed the One UI 6.1 update, then you can easily use voice recorder summarization by following these steps:

  1. Go to the Settings and select the advanced feature.
  2. Here you will see a voice recorder option. Tap on it to access
  3. Now turn the toggle on to activate it.
  1. Once activated, open the voice recorder, then select any saved file.
  2. Now you will see the option “transcribe.”  It will provide all the information from the test. 
  3. Once the transcription is done, you will get a summarize tab adjacent to it; just swipe write to access it. 

Continue Reading

Guide

Samsung One UI: How to Manage Always-on Display (AOD) Brightness after One UI 6.1

Published

on


Samsung has introduced some new utilities with One UI 6.1 for the AOD display. Users who own the Galaxy S24 can put wallpaper in the Always on display and add some widgets as well; however, the company has removed the manual brightness settings for the same feature. But you don’t have to worry, as you can still manage the always-on-display brightness with new methods. 

How to manage AOD brightness for Galaxy S24 series

With the latest One UI 6.1, Samsung has removed the manual brightness settings for the Galaxy S24 devices. If you want to adjust the auto brightness, you have to set the preferred brightness level of the main display from the notification panel. The reason behind the removal of the feature is to give convenience to users, as it brings automation for brightness by default, so it will dim or increase the brightness of the AOD according to the light condition. 

How to Manage AOD Brightness after One UI 6.1 update 

Apart from Galaxy S24 devices, Samsung has placed the AOD manual control option in the Good Lock – LockStar App settings, so if you want to take advantage of the manual control settings, first you need to update the Lockstar application to the latest version, then follow the below steps:

  1. Open the Good Lock on your device’
  2. Then tap on the LockStar module from the list of “Makeup” modules.
  3. Here you will see the option  Always On Display Auto Brightness. 
  4. If you don’t see the manual brightness control, then turn the auto brightness off.
  5. Then you will get a dedicated slider so you can set the brightness to a different level.

Continue Reading