Connect with us

Guide

How To Use Taskbar On Galaxy Tab S8 & Tab S7

Published

on


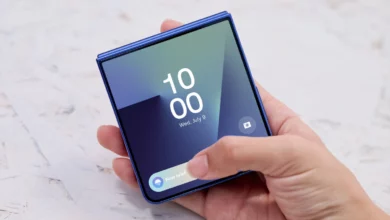
We saw that Samsung introduced an interesting graphic reinterpretation for One UI 4.1.1, which has evolved further with Android 12L against larger devices, such as tablets and foldable devices.

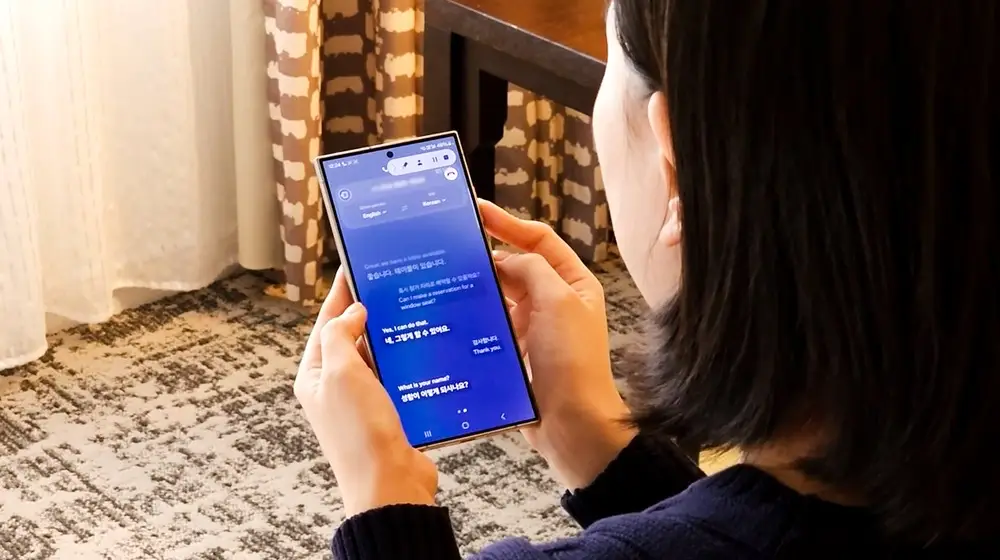
Trying the dedicated tablet and foldable graphics interface on Samsung smartphones currently on the market is extremely simple. The new taskbar that greatly enhances multitasking usage, the new gestures to switch from full-screen to split-screen mode, improved use of windows apps; among those specific to One UI 4.1.1 are also the extraction of text from images, with the possibility of translation and sharing, the most advanced search function of My Files and the In the case of the folding, there is also a renewed Flex Mode with the lower portion usable as a touchpad.

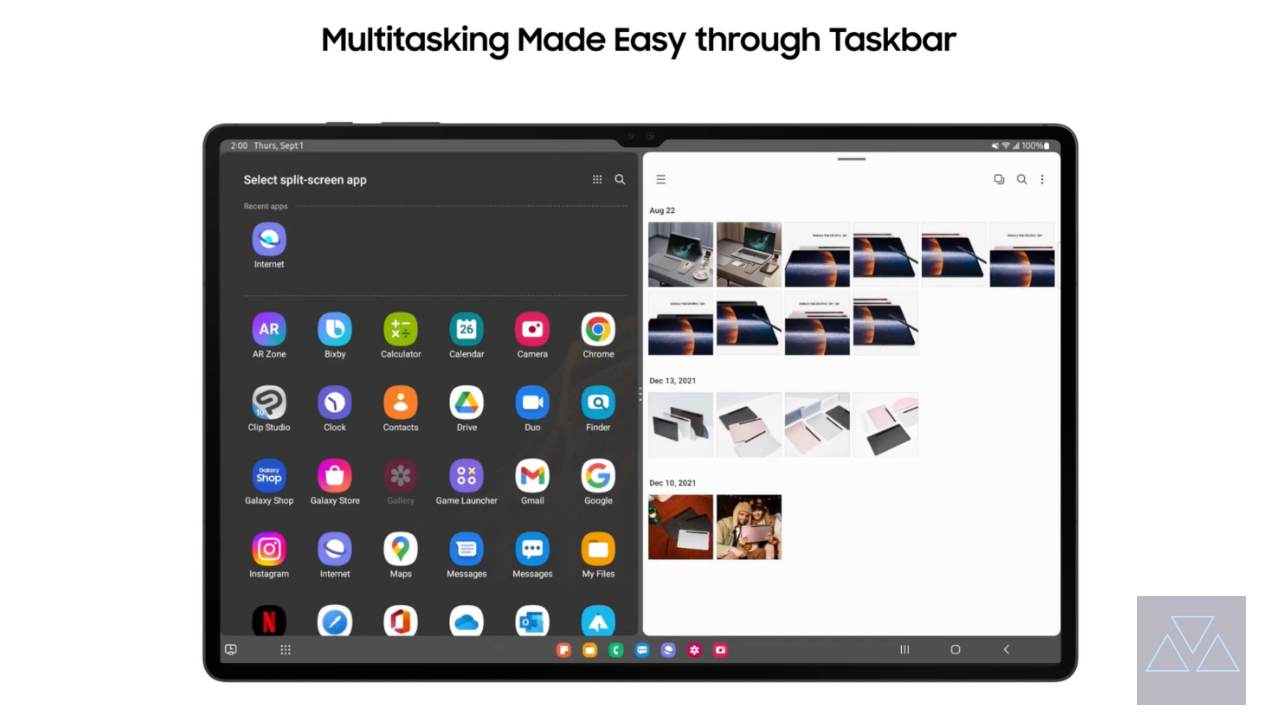
Samsung Galaxy Tab S8 and Tab S7 series also support the latest taskbar, which is come with One UI 4.1.1 based on Android 12L. The Taskbar on your Galaxy Tablets gives you a genuine PC-like experience, right on your phone! Situated conveniently across the bottom of your screen, it’ll let you access the apps you use all time. This means you’ll never have to go searching through the Apps screen again when you need to launch your favorite social media app or send a text to your best friend. You can also use the Taskbar to open apps in Multi window view, as well as quickly create app pairs.

How To Enable Or Disable Taskbar On Galaxy Tab

Although the Taskbar on the Galaxy Tabs is turned on by default, it’s good to know how to find it again if you turned it off.

  1. Navigate to and open Settings, and then tap Display.
  2. Swipe to and tap Taskbar.
  3. Tap the switch at the top to turn it on or off.
  4. You can also tap the switch next to Show recent apps. This will populate the Taskbar with two of your recently opened apps.

Note: The Taskbar is limited to a total of eight app slots, including six selected apps and two recent apps.

How To Use Taskbar On Galaxy Tab

The Taskbar lets you launch your favorite apps quickly and easily! It’ll appear on the bottom of your screen when you’re using an app or have a window open, just like on a PC or Mac. You can use the Taskbar when your phone is in Flex mode as well.

  1. Open your phone, and then navigate to and open an app or window of your choice to view the Taskbar.
  2. Next, tap any app icon on the Taskbar to open it.
  3. To use Multi window, drag and drop your desired apps from the Taskbar into the top, bottom, left, right, or center portions of the screen.
  4. If there are two apps you use frequently, you can create an app pair from the Taskbar. Drag and drop the first app into the left portion of the screen, and then drag and drop the second app into the right portion.
  5. Then, tap the center of the screen, in between the two app windows.
  6. Tap the app pair icon (the star), and then tap Taskbar.
    1. Note: You can also tap Home screen or Apps edge panel.
  7. The app pair will appear on your Taskbar; tap it to open both apps at once.

How to Add or remove apps from the Taskbar

Apps from your favorites bar will automatically be added to the Taskbar. So, if you have the Phone, Messages, and Contacts apps added to your favorites, those will also appear on the Taskbar. You can edit the apps that appear by adding or removing them from your favorites.

  1. From a Home screen or the Apps screen, touch and drag an app into the favorites bar area near the bottom to add it.
  2. To remove an app, touch and drag it out of the favorites bar.
  3. Or, touch and hold it until the pop-up menu appears, and then tap Remove.

Harsh is a seasoned technology enthusiast with a deep passion for Android. Since its announcement in 2007, he has closely followed the evolution of this operating system, gaining a comprehensive understanding of its features and capabilities. His background in Android, IT, and Journalism has equipped him with the skills to analyze and present complex technological concepts in a clear and engaging manner. As the Editor-in-Chief at Samlover.com, Harsh is dedicated to sharing his knowledge and experiences about Android, services, and applications with the world.

Guide

Samsung One UI: How to Enable Swipe-Down Search On Galaxy Phone’s Home Screen

Published

on


Nowadays, every smartphone user generally uses hundreds of applications on their devices, and due to the large number of applications, it’s a bit difficult to find the desired application, so to make it simple, users have only one solution: manually search for the application with its name using the finder option.

Samsung Swipe Down To Access App Finder

Samsung has rolled out a new update for the Home Up application. With the latest update, users have received some useful features; Finder Access is one of them, which has made app access more convenient. It allows users to quickly jump to the app finder with one swipe. Let’s understand how you can use it.

How to Enable Samsung Home Screen App Finder with Good Lock Home Up

To use the App Finder, your Samsung Galaxy phone should support the Good Lock application and then you need to update the Home Up application to the latest version (v15.0.01.19), then follow the below steps:

  1. Go to the Good lock.
  2. Here, select the Home Up module.
  3. Turn on the Home Up
  4. Then tap on the Home screen option.
  5. Here, you will get the Finder access option, then tap on it. 
  6. Now choose any option from the “Home screen” or “App screen” where the feature should be activated.
  7. Now if you swipe down on the Home Screen to access App Finder.


Note: The latest update for Home Up is only available for Galaxy devices that are running on One UI 6.1 or above. And Swipe Down control centre won’t work after enable this feature.


Continue Reading

Guide

Galaxy AI: How to Summarize & Transcribe Voice Recording into Text on Samsung Phone

Published

on


Samsung has recently rolled out the One UI 6.1 update for several Galaxy devices. With the late One UI update, the company has brought several innovations that will provide several utility options for the users. From several features, the AI power ones are the most highlighted, and voice record summarization is also a unique feature.

What is voice recording summarization?

Now, with the One UI 6.1 update, Galaxy users can easily transcribe any voice recording into text form and summarize it in their own language. This will help users easily make notes according to what is recorded. 

To use this feature, you need to go to the settings and then select the Advanced feature. Here you will see the voice recorder, tap on it, and then touch the summaries option. Now turn it on. When it is turned on, you can enjoy summarizing voice recordings.

To summarize the voice recording Go to the recorder application, select the desired recording file, and here you will see the option ‘transcribe’. Once it finishes transcribing, you will see one more tab for summarization. However, the option is currently not working correctly as it fails to detect the exact wording of other languages except English. However, it is expected that the company may bring more optimization to the device to make the feature more powerful.

How to Transcribe Voice Recording into Text on Samsung Phones

If you are using a Galaxy device that has installed the One UI 6.1 update, then you can easily use voice recorder summarization by following these steps:

  1. Go to the Settings and select the advanced feature.
  2. Here you will see a voice recorder option. Tap on it to access
  3. Now turn the toggle on to activate it.
  1. Once activated, open the voice recorder, then select any saved file.
  2. Now you will see the option “transcribe.”  It will provide all the information from the test. 
  3. Once the transcription is done, you will get a summarize tab adjacent to it; just swipe write to access it. 

Continue Reading

Guide

Samsung One UI: How to Manage Always-on Display (AOD) Brightness after One UI 6.1

Published

on


Samsung has introduced some new utilities with One UI 6.1 for the AOD display. Users who own the Galaxy S24 can put wallpaper in the Always on display and add some widgets as well; however, the company has removed the manual brightness settings for the same feature. But you don’t have to worry, as you can still manage the always-on-display brightness with new methods. 

How to manage AOD brightness for Galaxy S24 series

With the latest One UI 6.1, Samsung has removed the manual brightness settings for the Galaxy S24 devices. If you want to adjust the auto brightness, you have to set the preferred brightness level of the main display from the notification panel. The reason behind the removal of the feature is to give convenience to users, as it brings automation for brightness by default, so it will dim or increase the brightness of the AOD according to the light condition. 

How to Manage AOD Brightness after One UI 6.1 update 

Apart from Galaxy S24 devices, Samsung has placed the AOD manual control option in the Good Lock – LockStar App settings, so if you want to take advantage of the manual control settings, first you need to update the Lockstar application to the latest version, then follow the below steps:

  1. Open the Good Lock on your device’
  2. Then tap on the LockStar module from the list of “Makeup” modules.
  3. Here you will see the option  Always On Display Auto Brightness. 
  4. If you don’t see the manual brightness control, then turn the auto brightness off.
  5. Then you will get a dedicated slider so you can set the brightness to a different level.

Continue Reading