Guide
Secure your Galaxy S24 Ultra by enabling these safety features

Samsung is known for its reliability, and to earn this title, the company has done an appreciative job in providing quality equipment and also getting development in the software, which improves several new things that make the functioning of the devices maintain the engagement of the users and also provides some security-related improvements.
Galaxy S24 Ultra Safety Features
For the improvements of software improvement, the company has dedicatedly introduced all new One UI skins, and every year the company introduces a new One UI major update with new Android updates. Now, with the continued development, the company has reached the One UI 6.0 update. In this update, multiple new security-related features are spotted in the devices. Here we are sharing some easy steps to setup your Galaxy S24 Ultra to get maximum security protection.
Automatic security scan
If you want to get active security on your Galaxy device, then there is a dedicated automatic device scan option available under device care. With this feature, your device will get the power to self-diagnose the device and scan all the possible threats that can be dangerous for the device. To set up this feature, follow these simple steps:
- Go to device care in the device settings.
- Here, tap on app protection and turn it on.
- Then it will give you the option to scan the application manually.
- But to set it on automatic, tap on the three dots in the top right corner of the phone.
- Here you will get additional options. Auto-scan apps daily, and auto-scan When installing apps, now just turn them on.
Protect your phone’s Wi-Fi
Nowadays, we frequently use Wi-Fi to browse the internet because it gives stable speed and there are several free Wi-Fi options available, which make it affordable to use, but with these advantages, they also have some disadvantages and can be dangerous for your security as well. So to secure your phones from Wi-Fi-related security breaches, you can use the special feature Auto Protect Wi-Fi. To set up this feature, follow the below steps:
- Go to the system settings.
- Then select security and privacy.
- Here, tap on more security settings.
- Now tap on Secret Wi-Fi and then touch the continue button.
- Now you are fully protected, but it is worth noticing that you can only use up to 1GB per month for free, and for extensions, you will have to pay for that.
Stay more protected from suspicious activities with an auto-blocker
Auto blocker is the latest feature that comes with One UI 6.0. This offers all-around protection against suspicious activities by blocking malicious data insertion. Basically, it helps to block the installation of software updates by USB cable and also blocks suspicious images from the messaging apps. To activate this feature, you have to follow these steps:
- Go to the system settings.
- Then open the security and privacy
- Here you will see an option called Auto Blocker.
- Turn it on, and here you will see two more options, including messaging app protection and blocking software updates by USB.
- Just turn both of the options, and now you are all set.
Make your phone share a live location for lost protection
We always take care of our phones and always try to keep them with us, but sometimes there are scenarios when our phones steal or get lost, so to make a solution, the company has provided the option of giving a new option to activate live location sharing eleven offline. To set it up, follow these steps:.
- First, set up your Samsung account and log in to the phone.
- Now go to the security and privacy settings.
- Now tap on the gind my mobile option.
- Just turn on this option, and then there will be other options available. Turn them on as well.
- After turning on all the options, you can now track your phone from any device via the official site, www.samsungfind.samsung.com.
Guide
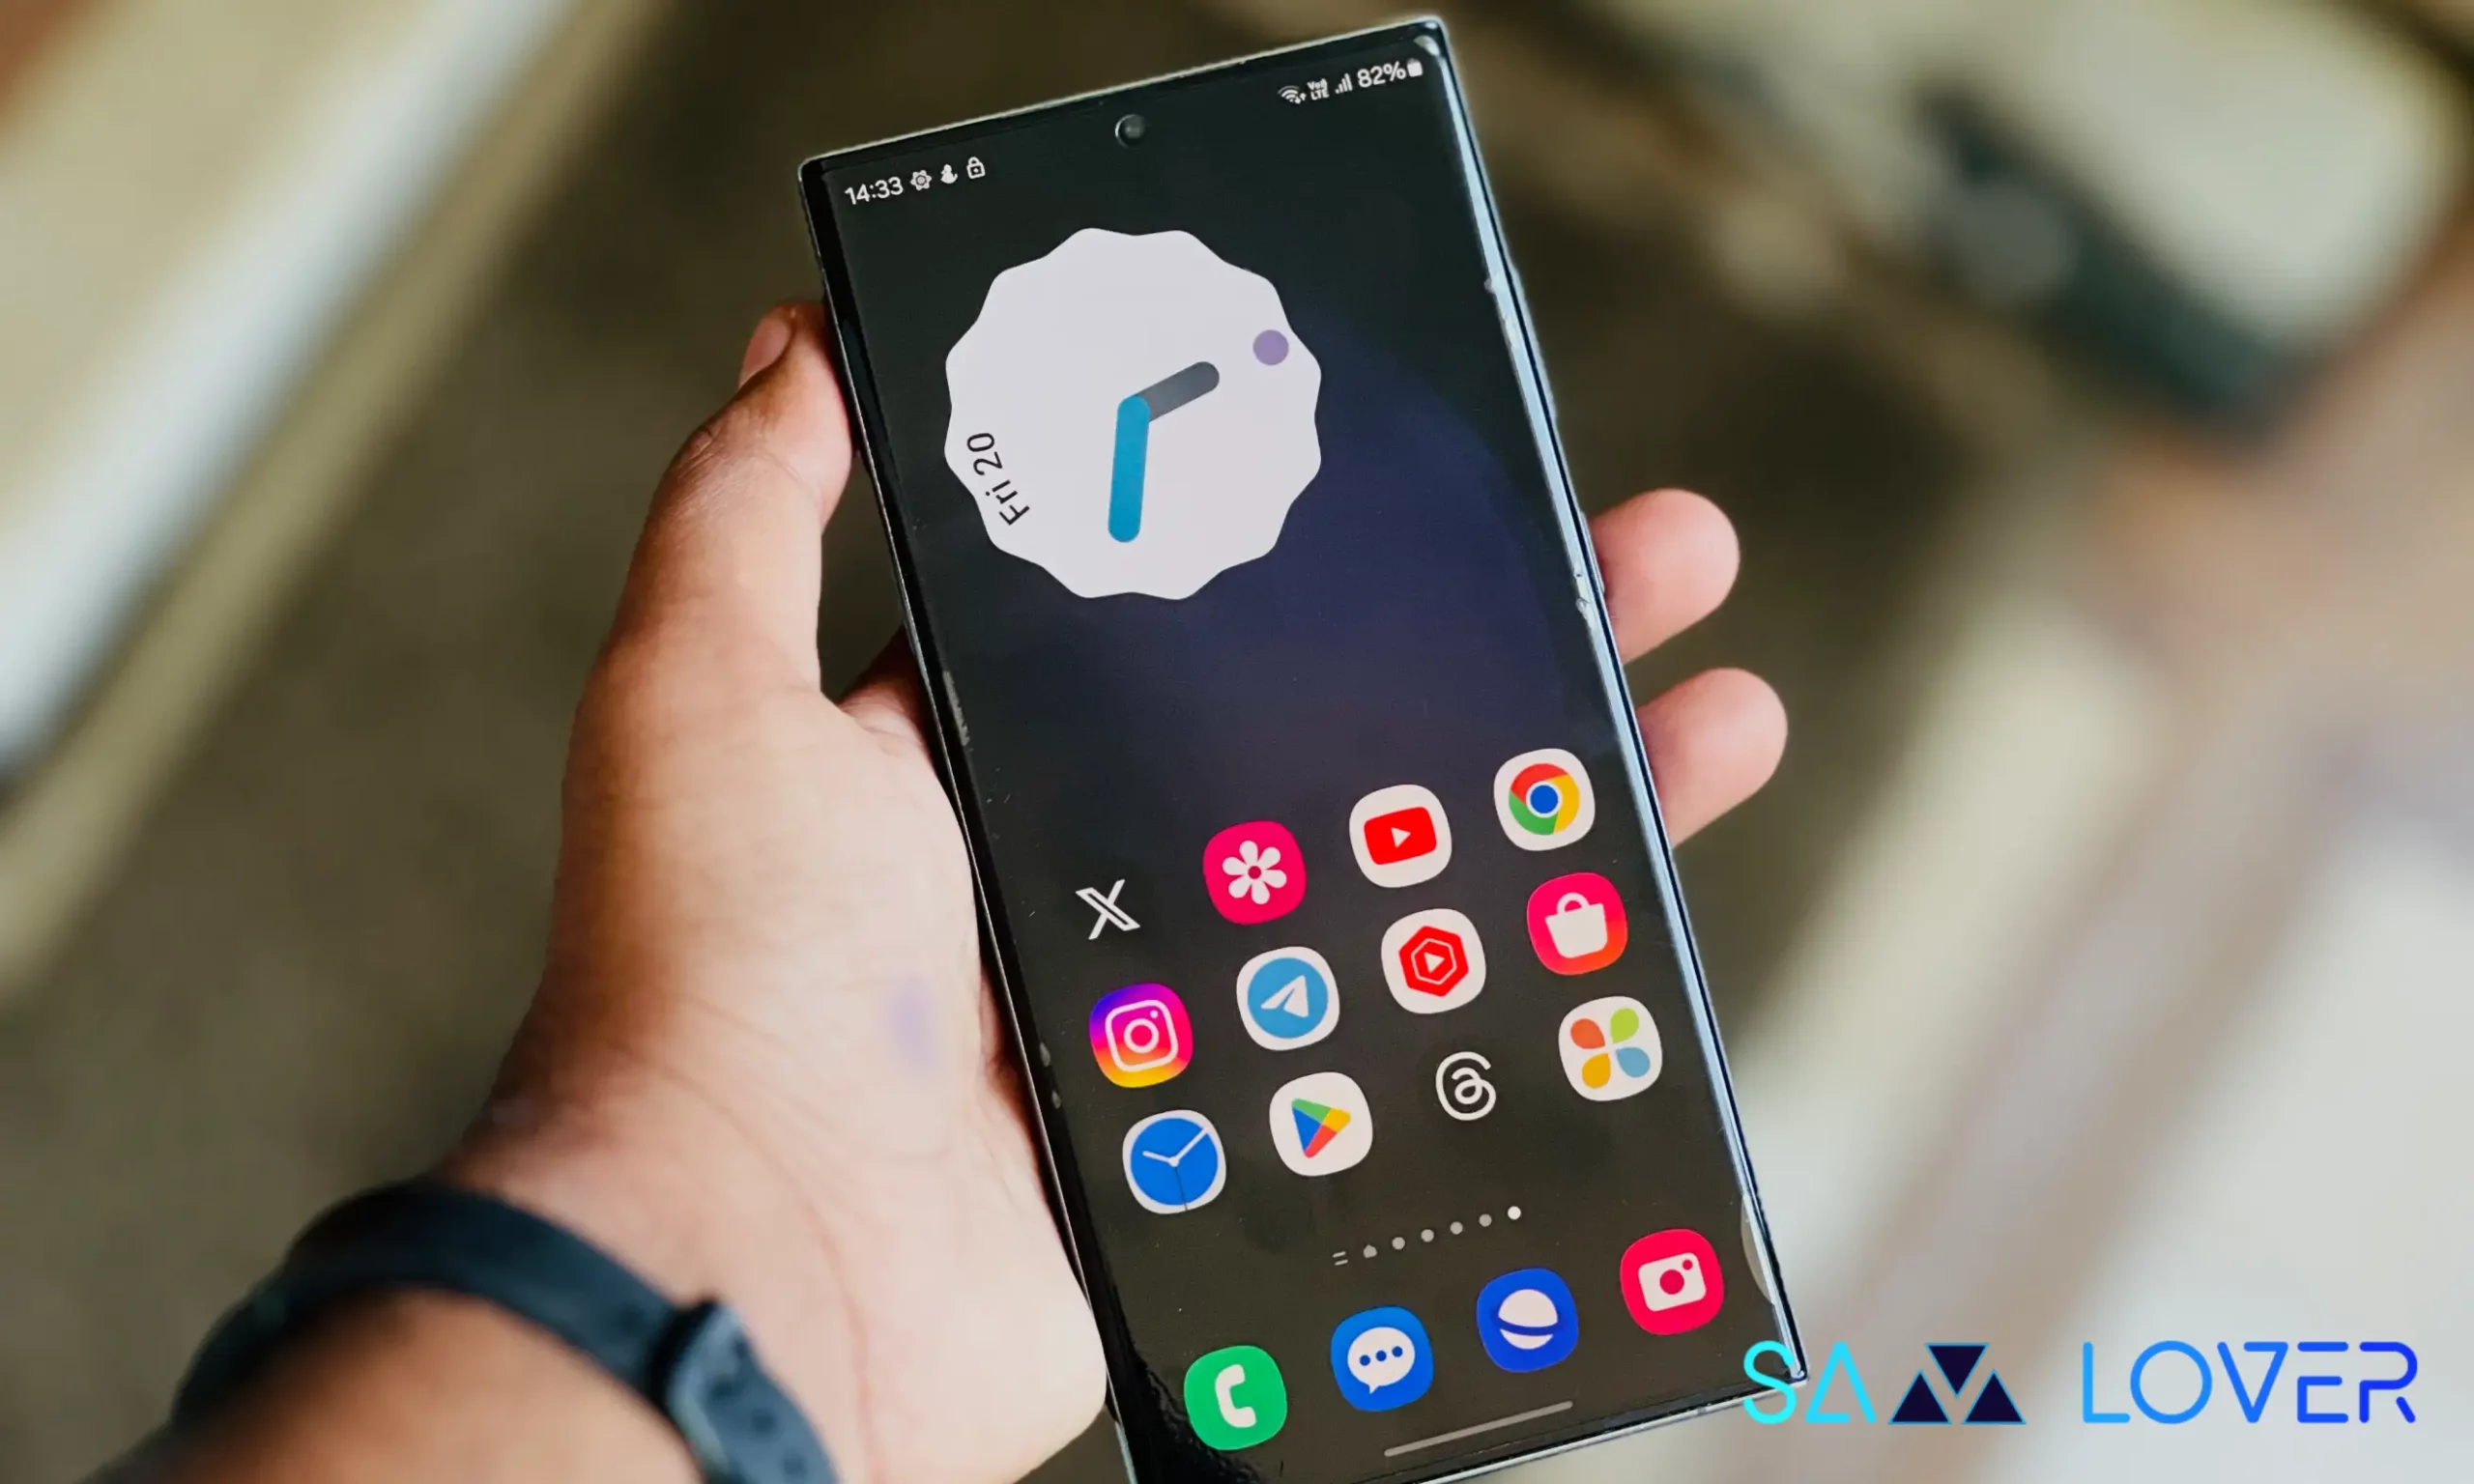
Samsung One UI: How to Enable Swipe-Down Search On Galaxy Phone’s Home Screen

Nowadays, every smartphone user generally uses hundreds of applications on their devices, and due to the large number of applications, it’s a bit difficult to find the desired application, so to make it simple, users have only one solution: manually search for the application with its name using the finder option.
Samsung Swipe Down To Access App Finder
Samsung has rolled out a new update for the Home Up application. With the latest update, users have received some useful features; Finder Access is one of them, which has made app access more convenient. It allows users to quickly jump to the app finder with one swipe. Let’s understand how you can use it.
How to Enable Samsung Home Screen App Finder with Good Lock Home Up
To use the App Finder, your Samsung Galaxy phone should support the Good Lock application and then you need to update the Home Up application to the latest version (v15.0.01.19), then follow the below steps:
- Go to the Good lock.
- Here, select the Home Up module.
- Turn on the Home Up
- Then tap on the Home screen option.
- Here, you will get the Finder access option, then tap on it.
- Now choose any option from the “Home screen” or “App screen” where the feature should be activated.
- Now if you swipe down on the Home Screen to access App Finder.

Note: The latest update for Home Up is only available for Galaxy devices that are running on One UI 6.1 or above. And Swipe Down control centre won’t work after enable this feature.
Guide
Galaxy AI: How to Summarize & Transcribe Voice Recording into Text on Samsung Phone

Samsung has recently rolled out the One UI 6.1 update for several Galaxy devices. With the late One UI update, the company has brought several innovations that will provide several utility options for the users. From several features, the AI power ones are the most highlighted, and voice record summarization is also a unique feature.
What is voice recording summarization?
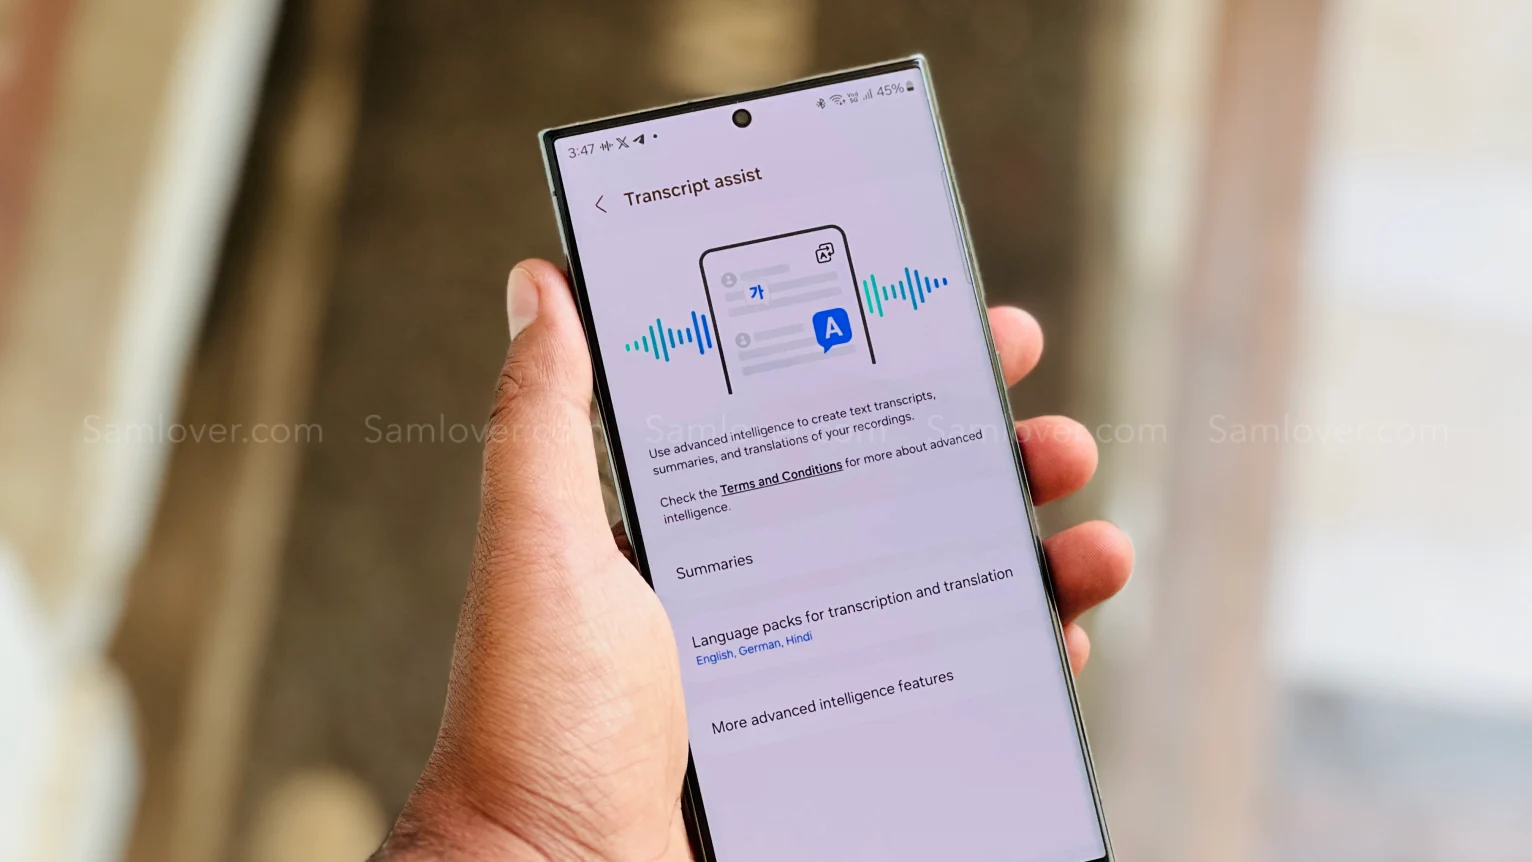
Now, with the One UI 6.1 update, Galaxy users can easily transcribe any voice recording into text form and summarize it in their own language. This will help users easily make notes according to what is recorded.
To use this feature, you need to go to the settings and then select the Advanced feature. Here you will see the voice recorder, tap on it, and then touch the summaries option. Now turn it on. When it is turned on, you can enjoy summarizing voice recordings.
To summarize the voice recording Go to the recorder application, select the desired recording file, and here you will see the option ‘transcribe’. Once it finishes transcribing, you will see one more tab for summarization. However, the option is currently not working correctly as it fails to detect the exact wording of other languages except English. However, it is expected that the company may bring more optimization to the device to make the feature more powerful.
How to Transcribe Voice Recording into Text on Samsung Phones
If you are using a Galaxy device that has installed the One UI 6.1 update, then you can easily use voice recorder summarization by following these steps:
- Go to the Settings and select the advanced feature.
- Here you will see a voice recorder option. Tap on it to access
- Now turn the toggle on to activate it.

- Once activated, open the voice recorder, then select any saved file.
- Now you will see the option “transcribe.” It will provide all the information from the test.
- Once the transcription is done, you will get a summarize tab adjacent to it; just swipe write to access it.

Guide
Samsung One UI: How to Manage Always-on Display (AOD) Brightness after One UI 6.1

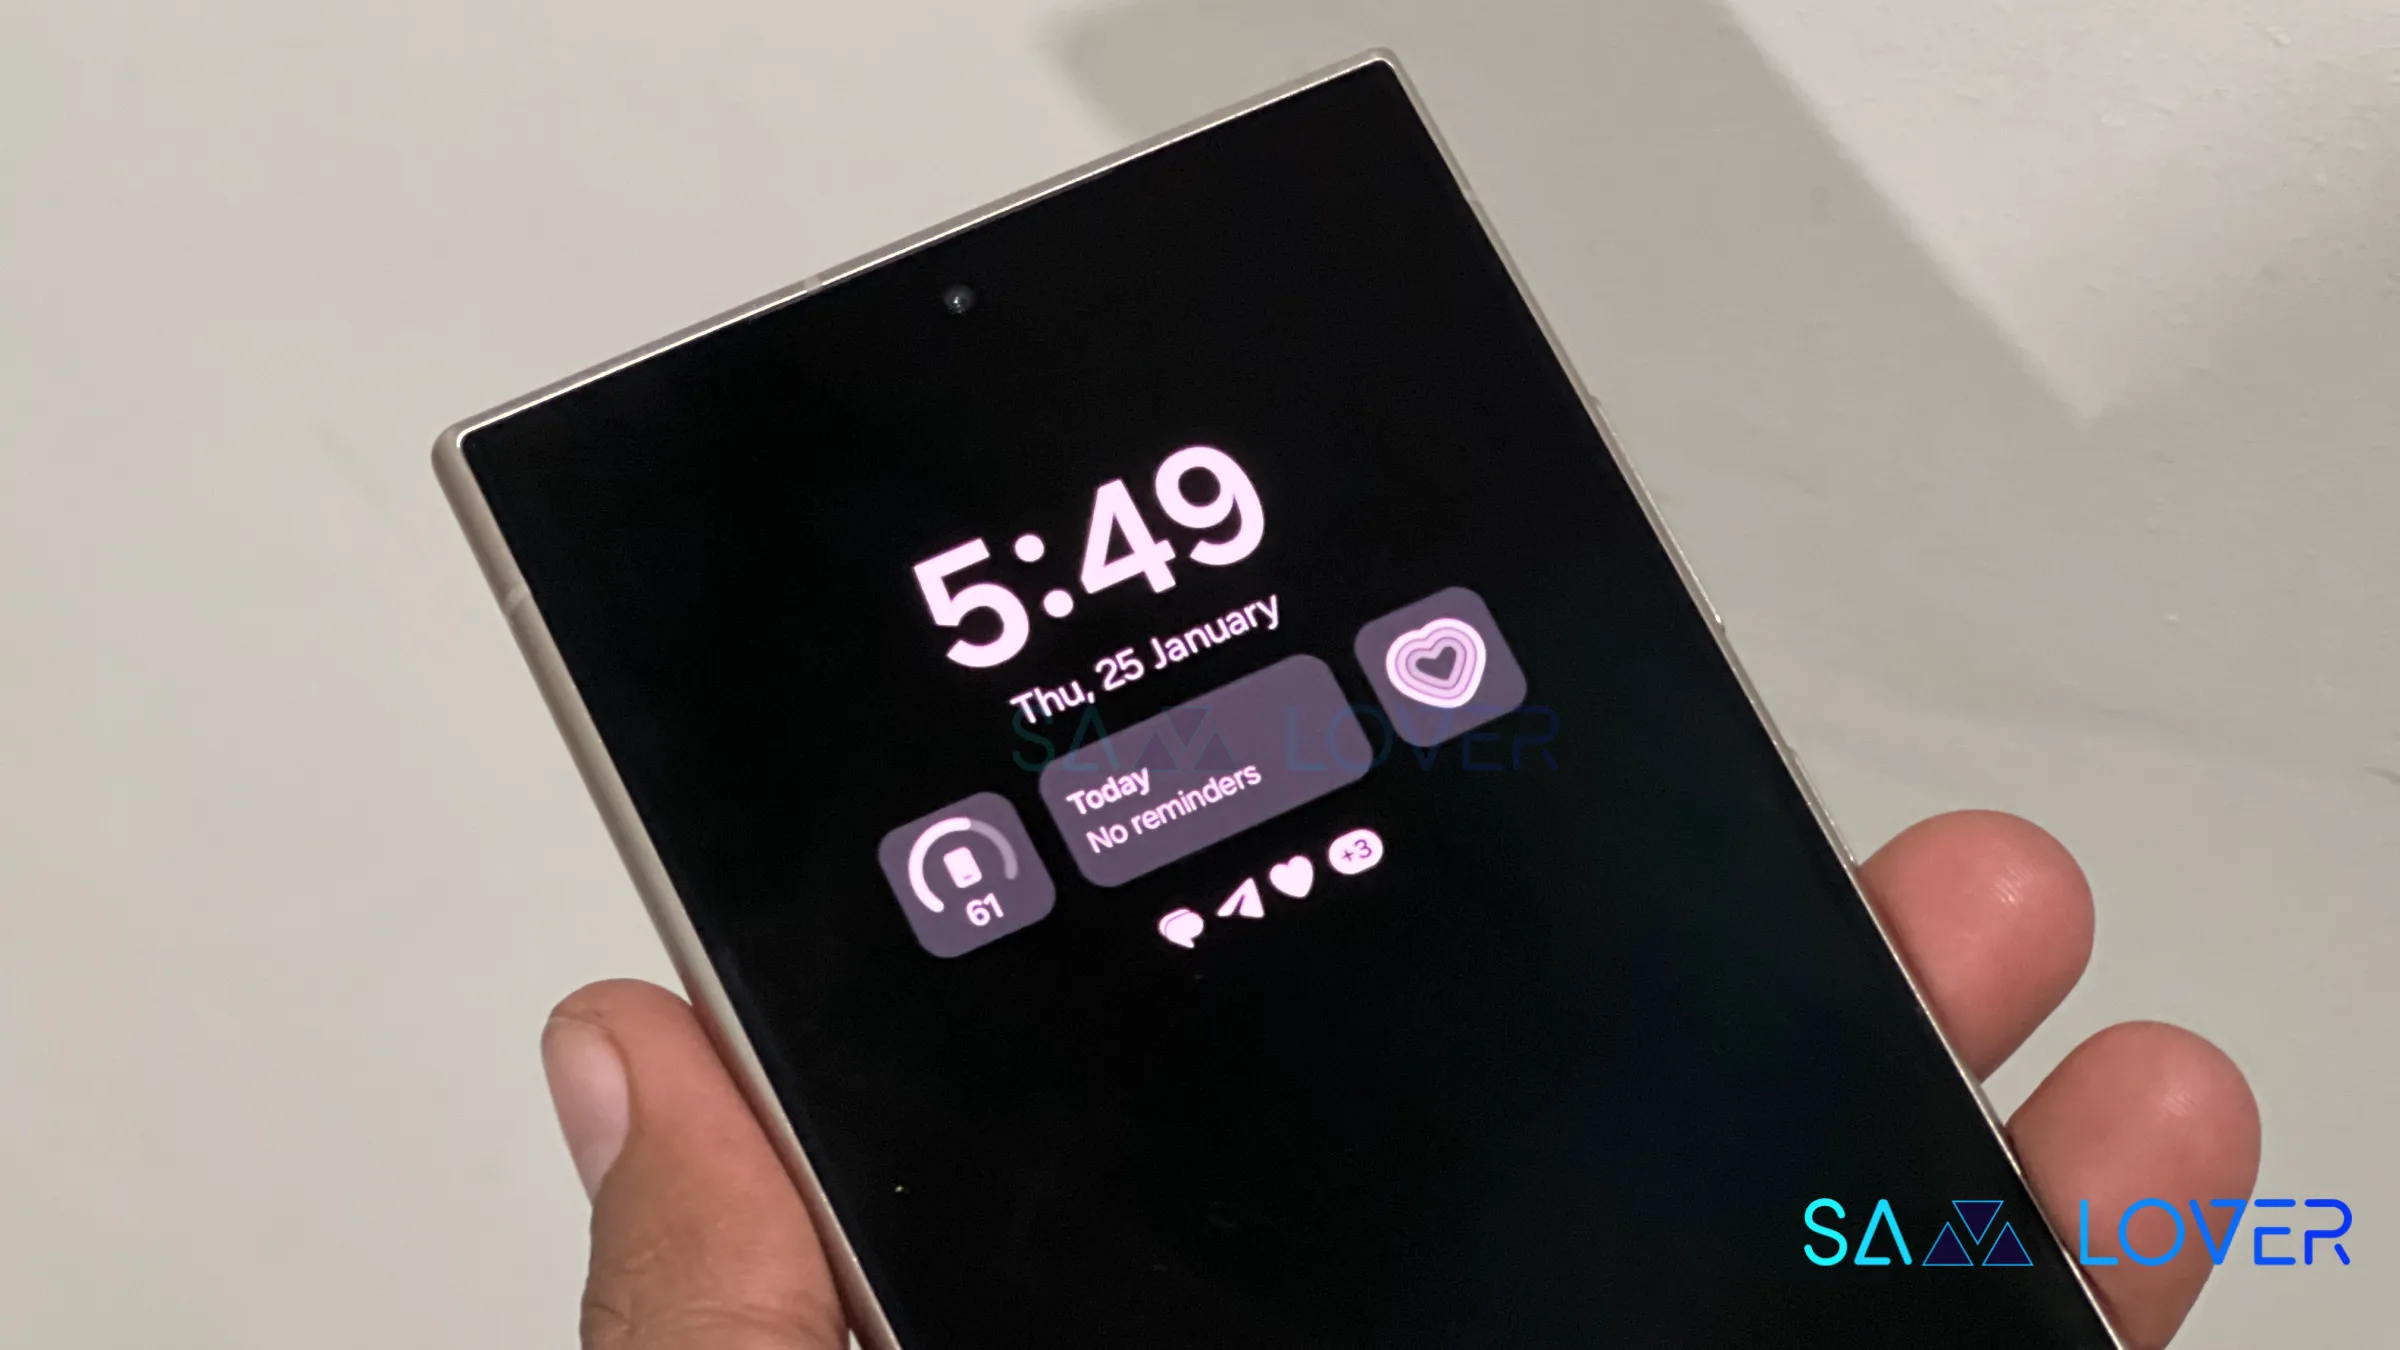
Samsung has introduced some new utilities with One UI 6.1 for the AOD display. Users who own the Galaxy S24 can put wallpaper in the Always on display and add some widgets as well; however, the company has removed the manual brightness settings for the same feature. But you don’t have to worry, as you can still manage the always-on-display brightness with new methods.
How to manage AOD brightness for Galaxy S24 series
With the latest One UI 6.1, Samsung has removed the manual brightness settings for the Galaxy S24 devices. If you want to adjust the auto brightness, you have to set the preferred brightness level of the main display from the notification panel. The reason behind the removal of the feature is to give convenience to users, as it brings automation for brightness by default, so it will dim or increase the brightness of the AOD according to the light condition.

How to Manage AOD Brightness after One UI 6.1 update
Apart from Galaxy S24 devices, Samsung has placed the AOD manual control option in the Good Lock – LockStar App settings, so if you want to take advantage of the manual control settings, first you need to update the Lockstar application to the latest version, then follow the below steps:
- Open the Good Lock on your device’
- Then tap on the LockStar module from the list of “Makeup” modules.
- Here you will see the option Always On Display Auto Brightness.
- If you don’t see the manual brightness control, then turn the auto brightness off.
- Then you will get a dedicated slider so you can set the brightness to a different level.


